

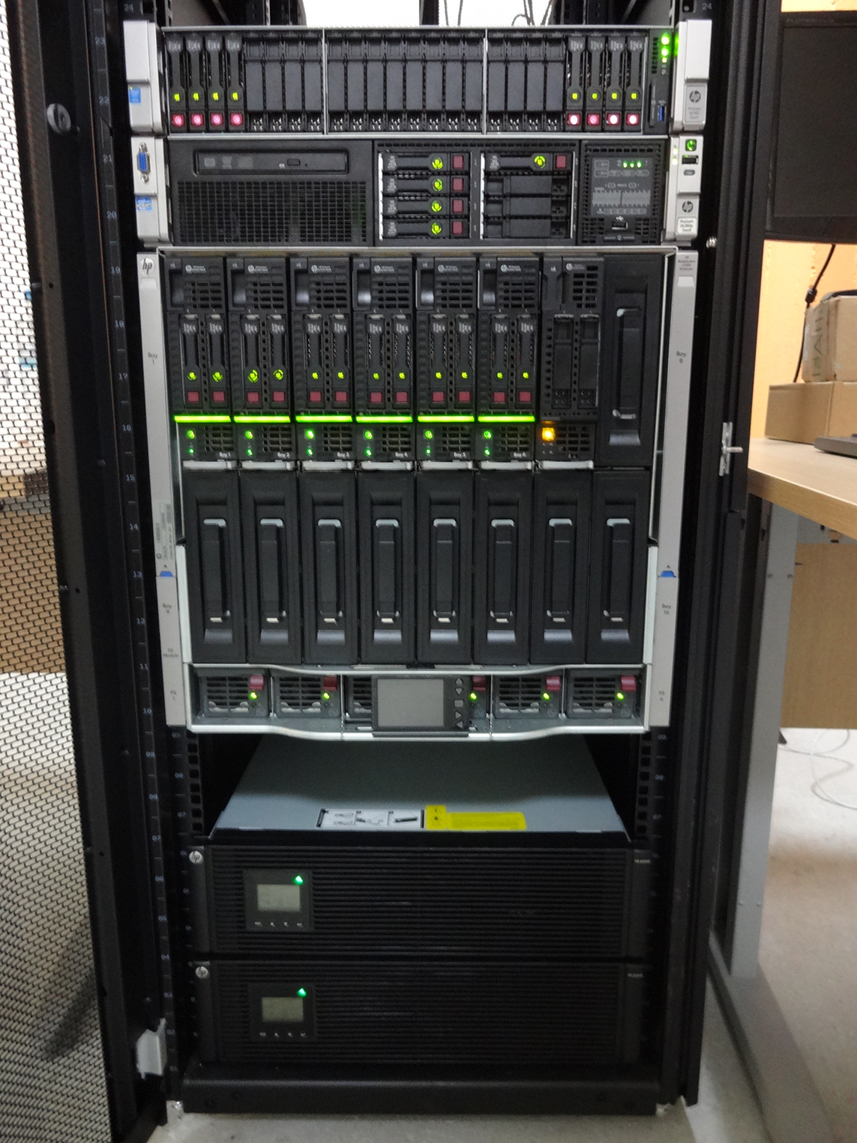
 Each blade server has
NITlab provides tha opportunity to the experimenter to understand and recognize the experiment's environment conditions, taking advantage of the Atheros Spectral Scan mechanism. A short tutorial is given below for using this feature in the NITOS testbed.
First of all we have to connect to the NITOS server:
$ ssh -X This email address is being protected from spambots. You need JavaScript enabled to view it.
turn on the reserved resources:
$ omf tell -a on -t omf.nitos.node0XX
then we load the appropriate image which has the Atheros Spectral Scan feature enabled:
$ omf load -i khounos-SpectralScan.ndz -t omf.nitos.node0XX
now ssh as root to the node in which the image was loaded:
$ ssh -X root@node0XX
As soon as we are connected as root in the node, we move to the directory FFT_eval.
$ cd FFT_eval
Then execute the following commands to perform a scan:
$ modprobe ath9k
$ ifconfig wlan0 up
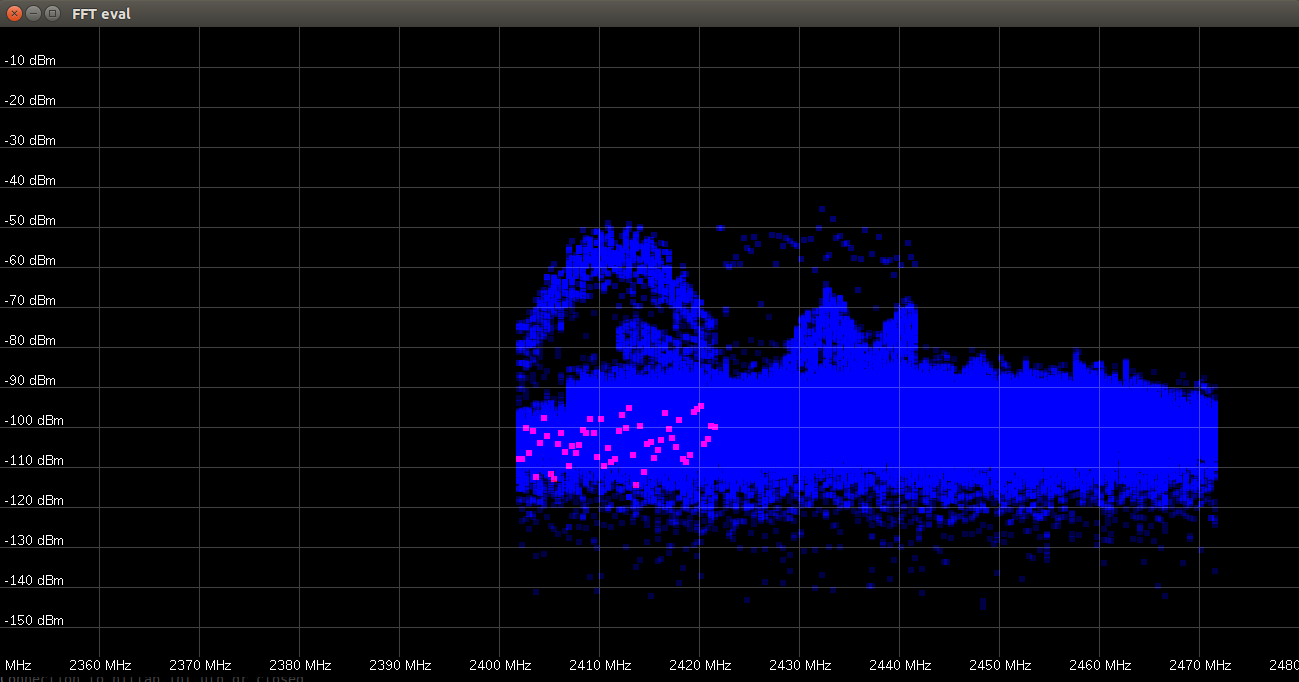
$ ./scan.sh
These commands will have an output like this:
The "scan.sh" file contains the following lines:
#Scan the whole Spectrum
iw dev wlan0 scan > /dev/null
#Scan 2.4GHz Band
#iw dev wlan0 scan freq 2417 2412 2422 2427 2432 2437 2442 2447 2452 2457 2462 2467 2472 > /dev/null
#Scan 5GHz Band
#iw dev wlan0 scan freq 5180 5200 5220 5240 5260 5280 5300 5320 > /dev/null
#Scan specific channel
#iw dev wlan0 scan freq 2417> /dev/null
In each case we have to execute only one iw command at the time. It depends in what range of spectrum we want to scan. The first scans all the spectrum, the second only the 2.4GHz, the third only the 5GHz and the fourth scans one or more specific frequencies which are given as an input in the iw command.
Finally after each execution of the "scan.sh", a txt file called "myres.txt" is generated. In this file all the measurements are been stored for further processing.
[1] FFT Eval Script "https://github.com/simonwunderlich/FFT_eval"