Writing an image to the microSD card
In this section you can find information on how to write an image to your microSD card. The image could be a default Raspbian operating system if you are starting from scratch to build your MAZI Zone, or a ready-made MAZI toolkit image if you want to have full support and receive the latest developments of the project. The latest version of the MAZI toolkit (v3) uses the Raspbian Stretch Lite.
For OS X
- Download and Install Etcher from https://etcher.io
- Open etcher and click Select Image to choose the mazi img file.
- Choose SD Card as Drive.
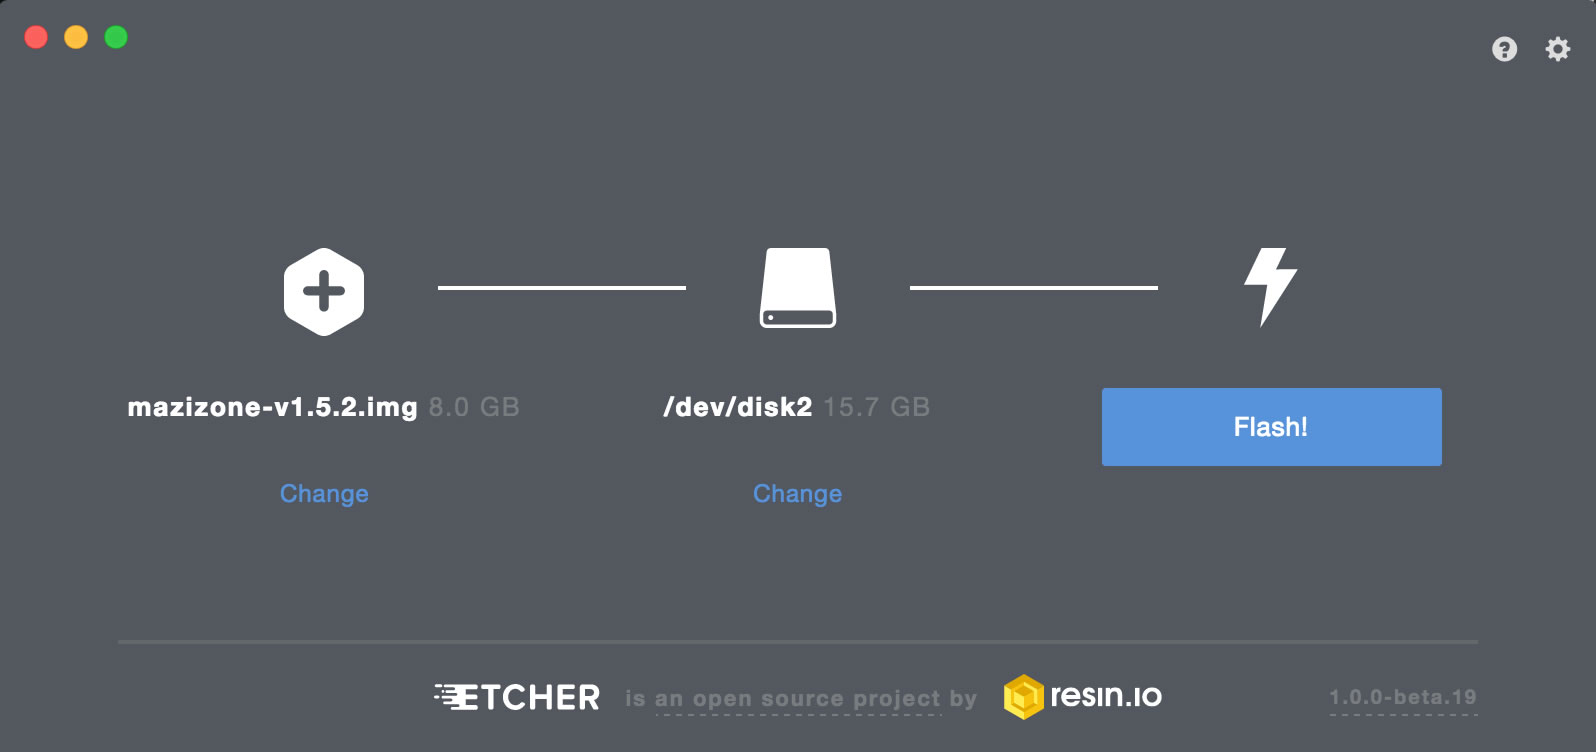
- Click Flash!
As soon as the process is finished mount the SD card on the Raspberry Pi and turn it on.
For Linux
Please note that the use of the dd tool can overwrite any partition of your machine. If you specify the wrong device in the instructions below, you could delete your primary Linux partition. Please be careful.
1.Run
df -h
To see what devices are currently mounted.
2.Insert the SD card and run df -h again. The new device that has appeared is your SD card. The left column gives the device name of your SD card. It will be listed as something like /dev/mmcblk0p1 or /dev/sdd1. The last part (p1 or 1 respectively) is the partition number but you want to write to the whole SD card, not just one partition. You therefore need to remove that part from the name, getting, for example, /dev/mmcblk0 or /dev/sdd as the device name for the whole SD card.
3.Now that you’ve noted what the device name is, you need to unmount it so that files can’t be read or written to the SD card while you are copying over the SD image
4.Run
umount /dev/sdd1
Replacing sdd1 with whatever your SD card’s device name is (including the partition number).
5.In the terminal, write the image to the card with the command below, making sure you replace the input file if= argument with the path to your .img file, and the /dev/sdd in the output file of= argument with the right device name. This is very important, as you will lose all data on the hard drive if you provide the wrong device name. Make sure the device name is the name of the whole SD card as described above, not just a partition of it. For example, sdd, not sdds1 or sddp1, and mmcblk0, not mmcblk0p1
sudo dd bs=4M if=2016-05-27-raspbian-jessie.img of=/dev/sdd status=progress
6.The dd command only gives information of its progress if you use status=progress on the command-line. Otherwise, to see the progress of the copy operation you can send a USR1 signal to the running process, e.g., run in another terminal
sudo pkill -USR1 -n -x dd
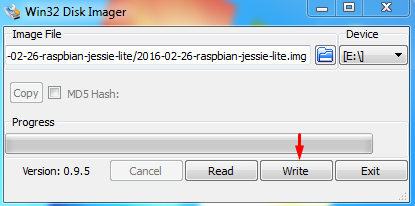
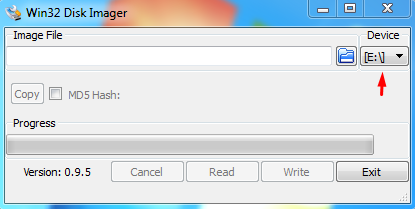
For Windows
Download Win32 application for flashing the SD card
- Select your device (SD card)
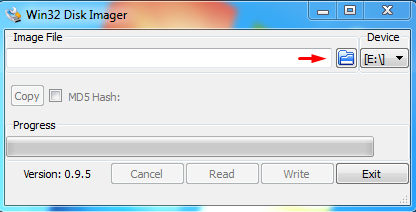
- Locate the downloaded disk image
- Click Write and wait for the write to be comleted