• 1
  • 2
  • 3
  • 4

Activities

  • NITOS Outdoor deployment consists of powerful nodes that feature multiple wireless interfaces and allow for experimentation with heterogeneous (Wi-Fi, WiMAX,

    Read More
  • The setup NITOS testbed is currently using is a fixed setup (employing no mobility between BSs) that does not require

    Read More
  • Towards the development of a remote accessible LTE testbed, where experimenters from all the word will be able to run

    Read More
  • NITOS facility provides remote access to OpenFlow switches (2 x Pronto 3290 , 2 x HP 3800 ), enabling the user to create

    Read More
  • NITlab developed a software defined radio (SDR) testbed that consists of 18 Universal Software Radio Peripheral (USRP) devices attached to

    Read More
  • NITOS is an Intelligent Transport System (ITS) compatible facility thanks to the implementation of the key components of the ITS

    Read More
  • NITOS cloud infrastructure is based on HP GEN8 blade servers and one HP DL380p GEN8 server. Cloud Infrastructure UTH 
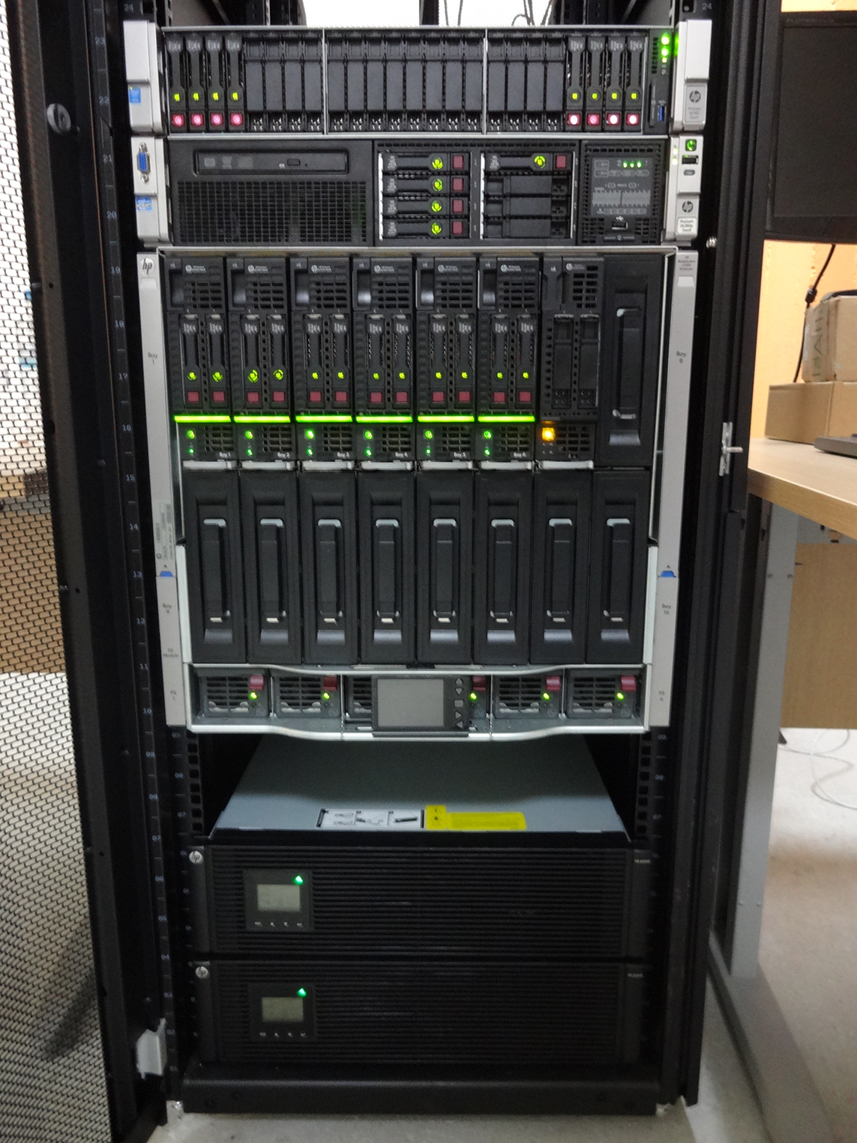
Each blade server has

    Read More

NITOS

The Future Internet Facility

  • Outdoor Testbed

    Experiments under real world environment Read More
  • Indoor Testbed

    Experiments in RF isolated environment Read More
  • Office testbed

    Experiments in an office environment Read More
  • 1
  • 2
  • 3

Streaming video with OMF

1. Experiment setup

In this scenario we use two Orbit nodes which are equipped with a web-camera and stream captured Motion-JPEG video to NITOS server. Zoneminder (a famous surveillance software) is installed at NITOS server and illustrates  the collected streams. An external PC is connected to http://nitlab.inf.uth.gr/zm (which lies on NITOS server) and selects which camera wants to watch.

xoumas


img167 smaller


2. Loading of the appropriate OMF image at the nodes

omf load -t omf.nitos.nodes005,omf.nitos.nodes015 -i video_baseline.ndz


3. Experiment description in OMF

The description is included in ruby file "mjpg_streamer.rb":

defProperty('mjpg_streamer',  '/root/mjpg-streamer-r150/mjpg-streamer', 'The path of the Motion JPEG streaming executable file')
defGroup("mygroup", ["omf.nitos.node005","omf.nitos.node015"])

onEvent(:ALL_UP_AND_INSTALLED) { |event|
wait 2
puts("\nStreaming starts\n\n")
allGroups.exec(property.mjpg_streamer+"mjpg_streamer -i \""+property.mjpg_streamer+"input_uvc.so -r 320x240 -f 10\" -o \""+property.mjpg_streamer+"output_http.so\"")
wait 2
 Experiment.done
}

4. Running the experiment & Zoneminder screenshot

omf exec mjpg_streamer.rb


zm screenshot 2

Experiment 3 - Wlanconfig Wrapper

Creating a Wrapper around the application binary wlanconfig

We use the Ruby language to create the wrapper application called wlanmonitor-simple.rb

#!/usr/bin/ruby1.8
#
require "/usr/bin/oml4r"

APPNAME = "wlanmonitor"
APPPATH = "/usr/local/bin/wlanconfig"
APPVERSION = "1.2"

class MPStat < OML4R::MPBase
name :wlanstat
param :src_addr
#param :dst_addr
param :aid, :type => :long
param :channel, :type => :long
param :rate
param :rssi, :type => :long
param :dbm, :type => :long
param :idle, :type => :long
param :txseq, :type => :long
param :txfrag, :type => :long
param :rxseq, :type => :long


# wlanconfig returns other metrics which we ignore here
end

class Wrapper

def process_output(output)
# wlanconfig returns a sequence of lines
# The 1st line is a list of labels for the fields of the remaining lines
# Each remaining line is for a detected stations, and follows the format:
# ADDR AID CHAN RATE RSSI DBM IDLE TXSEQ RXSEQ CAPS ACAPS ERP STATE MODE
lines = output.split("\n")
labels = lines.delete_at(0)
lines.each { |row|
column = row.split(" ")
# Inject the measurements into OML
MPStat.inject("#{column[0]}", column[1], column[2],
"#{column[3]}", column[4], column[5],
column[6], column[7], column[8], column[9])

}
end

def initialize(args)

# Initialise some variable specific to this wrapper

@interface = nil
@interval = 1

# Now call the Init of OML4R with the command line arguments (args)
# and a block defining the arguments specific to this wrapper
OML4R::init(args, :appID => APPNAME) { |argParser|
argParser.banner = "\nExecute a wrapper around #{APPNAME}\n" +
"Use -h or --help for a list of options\n\n"
argParser.on("-i", "--interface IFNAME",
"Name of Interface to monitor") { |name| @interface = name }
argParser.on("-s", "--sampling DURATION",
"Interval in second between collected samples") { |time|
@interval = time
}
argParser.on_tail("-v", "--version",
"Show the version\n") { |v|
puts "Version: #{APPVERSION}"; exit
}
}

# Finally do some checking specific to this wrapper
# e.g. here we do not proceed if the user did not give us a
# valid interface to monitor
unless @interface != nil
raise "You did not specify an interface to monitor! (-i option)"
end
end

def start()

while true
# Run the wlanconfig command with the following syntax
#   "wlanconfig list"
cmd = "#{APPPATH} #{@interface} list"
output = `#{cmd}`
# Process its output
process_output(output)
# Wait for a given duration and loop again
sleep @interval.to_i
end
end

end

begin
app = Wrapper.new(ARGV)
app.start()
rescue Exception => ex
puts "Received an Exception when executing the wrapper!"
puts "The Exception is: #{ex}\n"

Create an OMF Application Definition for this wrapper

In order to be able to use an application (such as the above wrapper) in your OMF experiment, you need to write an OMF Application Definition for it. the new file is called wlanmonitor_app.rb

defApplication('wlanmonitor_app', 'wlanmonitor') do |a|

a.path = "/usr/bin/wlanmonitor-simple.rb"
a.version(1, 2, 0)
a.shortDescription = "Wrapper around wlanconfig's list mode"
a.description = <
This is a wrapper around the wlanconfig command used in list mode.
This application is using OML4R part of OML v2.3 or v2.4
TEXT

# Define the properties that can be configured for this application
#
# syntax: defProperty(name, description, mnemonic = nil, options = nil)
#
a.defProperty('interface', 'Interface to listen on', 'i',
{:type => :string, :dynamic => false})
a.defProperty('sampling', 'Sampling interval in sec', 's',
{:type => :integer, :dynamic => false})

# List the Measurement Points and associated metrics that are available
# for this application
#
a.defMeasurement('wlanstat') do |m|
m.defMetric('src_addr',:string)
m.defMetric('dst_addr',:string)
m.defMetric('aid',:long)
m.defMetric('channel',:long)
m.defMetric('rate',:string)
m.defMetric('rssi',:long)
m.defMetric('dbm',:long)
m.defMetric('idle',:long)
m.defMetric('txseq',:long)

Experiment Description

We finally have to write the experiment description for the scenario described above, where the Wrapper application is running on a single resource or node.

defProperty('node', "omf.nitos.node001", "ID of a node")
defProperty('mode1', "adhoc", "wifi mode for 1st node")
defProperty('wifi', "g", "wifi type to use")
defProperty('channel', "3", "wifi channel to use")

defGroup('Observers', property.node) do |node|
node.addApplication("wlanmonitor_app") do |app|
app.setProperty('interface', 'ath0')
app.setProperty('sampling', 3)
app.measure('wlanstat')
end
node.net.w0.mode = property.mode1
node.net.w0.type = property.wifi
node.net.w0.channel = property.channel
node.net.w0.essid = "expmonitor"
node.net.w0.ip = "192.168.0.1"
end       

onEvent(:ALL_UP_AND_INSTALLED) do |event|
wait 1
allGroups.startApplications
wait 30
allGroups.stopApplications
Experiment.done
end

addTab(:defaults)
addTab(:graph2) do |tab|
opts = { :postfix => %{This graph shows the RSSI.}, :updateEvery => 3 }
tab.addGraph("RSSI", opts) do |g|
data = Hash.new
mp = ms('wlanstat')
mp.project(:oml_ts_server, :src_addr, :dst_addr, :rssi).each do |sample|
time, src, dst, rssi = sample.tuple
data[dst] = [] if data[dst] == nil
data[dst] << [time, rssi] if src != dst
end
data.each do |d,v|
g.addLine(v, :label => d)

Run the experiment

In our resource (i.e. node "omf.nicta.node29")

Your 3rd party application ("wlanconfig") is installed at the path: /usr/sbin/wlanconfig

Your Ruby Wrapper with OML support ("wlanmonitor-simple.rb") is installed at: /usr/bin/wlanmonitor-simple

The OML 2.4 library (or newer) is installed The OML4R library is either installed (by default with OML) or installed by you at: /usr/bin/oml4r.rb

We copy wlanmonitor-simple.rb and oml4r.rb on the /usr/bin directory of our node and change the privileges for the two files as following:

chmod +x /usr/bin/wlanmonitor-simple.rb 
chmod +x /usr/bin/oml4r.rb

On your machine or testbed console: Your OMF Application Definition ("wlanmonitor_app.rb") is in the same directory as your experiment ("experiment.rb")

We finally run our experiment using the following command:

 omf exec experiment.rb 


OMF - A brief description

An Introduction to OMF

Control and Management Framework is a pioneering conceptional structure, designed and modeled to enable managerial aspects of testbeds under a unified schema. Deploying different testbeds for experimental purposes might be significantly expensive. Furthermore, users might find big difficulties in describing and setting experiments, uploading and retrieving measurement data in different testbed types due to the lack of a simplified procedure for using and managing testbeds. Taking those parameters into consideration, OMF aims to provide users with ease of use in running experiments, simplified management and optimized control and resource allocation.

OMF Concept
omfconcept
An overview of OMF capabilities.
Different experimental platforms under a unified
control structure.


OMF Concept
omfoverview
OMF Workflow.
An illustration of binding together experiments,
results, and hardware under OMF.


Note. Those pictures are property of [omf.mytestbed.net] and are used under their permission.


OMF Components

OMF can be divided in three major components

  • Experiment Controller - EC A user sends an experiment description written in Ruby to EC which is responsible for the interpretation and execution of the commands required to the experiment.
  • Resource Controller - RC RC is an entity that is deployed on each of the nodes that consist the testbed and is responsible for the control of the node and the execution of the node-specific experiment commands.
  • Aggregate Manager - AM AM consists of a set of services that RC can use to manage and execute experiments on the testbed.

How OMF works?

OMF is called to perform three discrete tasks on a testbed.

  • Controlling and supporting an experiment.
  • Managing the testbed.
  • Measuring and retrieving experimental data.


Controlling and Supporting an experiment.

Users of an OMF based testbed are able to describe experiments in a high-level language, based on Ruby, and submit it in sequence to OMF. Experiment Controller is the component denoted to the control of an experiment and forwards commands of the respective experiment to the resources (i.e nodes) of the testbed. Then Resource Controller, the component located on each resource, receives and executes commands and sends back to Experiment Controller information and measurements related to experiments. Interaction between Experiment Controller and Resource Controller supports full control over the testbed and a simplified measurement retrieving procedure.

Managing the testbed.

The responsibility for the testbed management belongs to Aggregate Manager. Those responsibilities can be summarized as follows:

  • controlling the Chassis Manager card, which enables setting a node on or off (feature soon to be available at NITOS)
  • starting and stopping Frisbee, which is used for imaging the nodes.
  • enabling nodes to boot either from a network image (PXE) or their local disk
  • providing inventory information for all resources
  • operating the measurement collection server for retrieving experimental data.

Measuring and retrieving experimental data.

OMF uses the Orbit Measurement Library for collecting experiment results. It gives real-time experiment data collection. Furthermore, this library provides the users with customizable measurement points inside C/C++ application source code. Thus, it gives users the opportunity to specify different measurement points for their experiment analysis.


References

What Our Experimenters Say

  • NITOS is a very reliable and well managed platform. The offered infrastructure and features are great. The management team is very supportive.

    Mustafa Al-Bado
    Postdoctoral researcher
    Insight centre, University College Cork (UCC)
  • 1
  • 2
 
uth
image
image
image


Login Form