• 1
  • 2
  • 3
  • 4

Activities

  • NITOS Outdoor deployment consists of powerful nodes that feature multiple wireless interfaces and allow for experimentation with heterogeneous (Wi-Fi, WiMAX,

    Read More
  • The setup NITOS testbed is currently using is a fixed setup (employing no mobility between BSs) that does not require

    Read More
  • Towards the development of a remote accessible LTE testbed, where experimenters from all the word will be able to run

    Read More
  • NITOS facility provides remote access to OpenFlow switches (2 x Pronto 3290 , 2 x HP 3800 ), enabling the user to create

    Read More
  • NITlab developed a software defined radio (SDR) testbed that consists of 18 Universal Software Radio Peripheral (USRP) devices attached to

    Read More
  • NITOS is an Intelligent Transport System (ITS) compatible facility thanks to the implementation of the key components of the ITS

    Read More
  • NITOS cloud infrastructure is based on HP GEN8 blade servers and one HP DL380p GEN8 server. Cloud Infrastructure UTH 
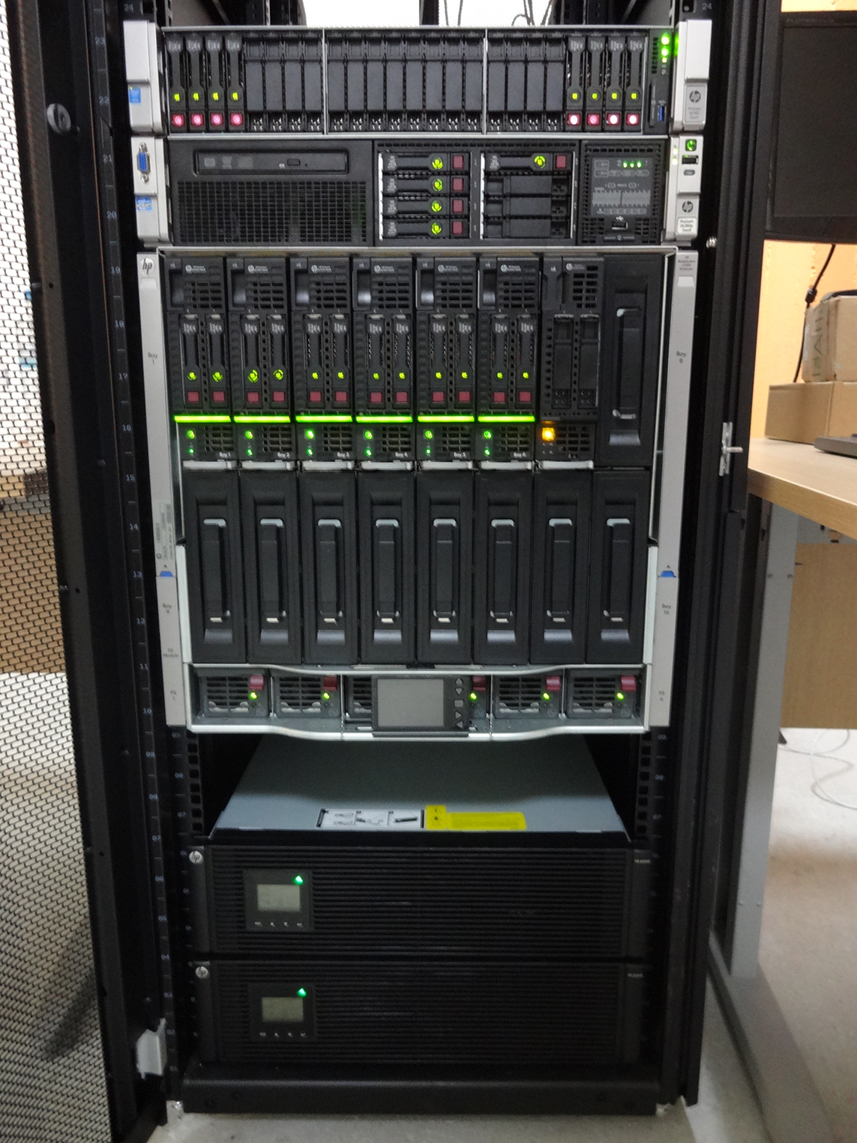
Each blade server has

    Read More

NITOS

The Future Internet Facility

  • Outdoor Testbed

    Experiments under real world environment Read More
  • Indoor Testbed

    Experiments in RF isolated environment Read More
  • Office testbed

    Experiments in an office environment Read More
  • 1
  • 2
  • 3

Simple LTE Tutorial

Using the LTE testbed

In order to use the LTE testbed resources offered by the NITOS facility, first you will have to create an account here and follow this tutorial. Then you will be able to reserve the LTE eNBs and the nodes with LTE connectivity, offered by the Outdoor and Indoor RF isolated testbeds.

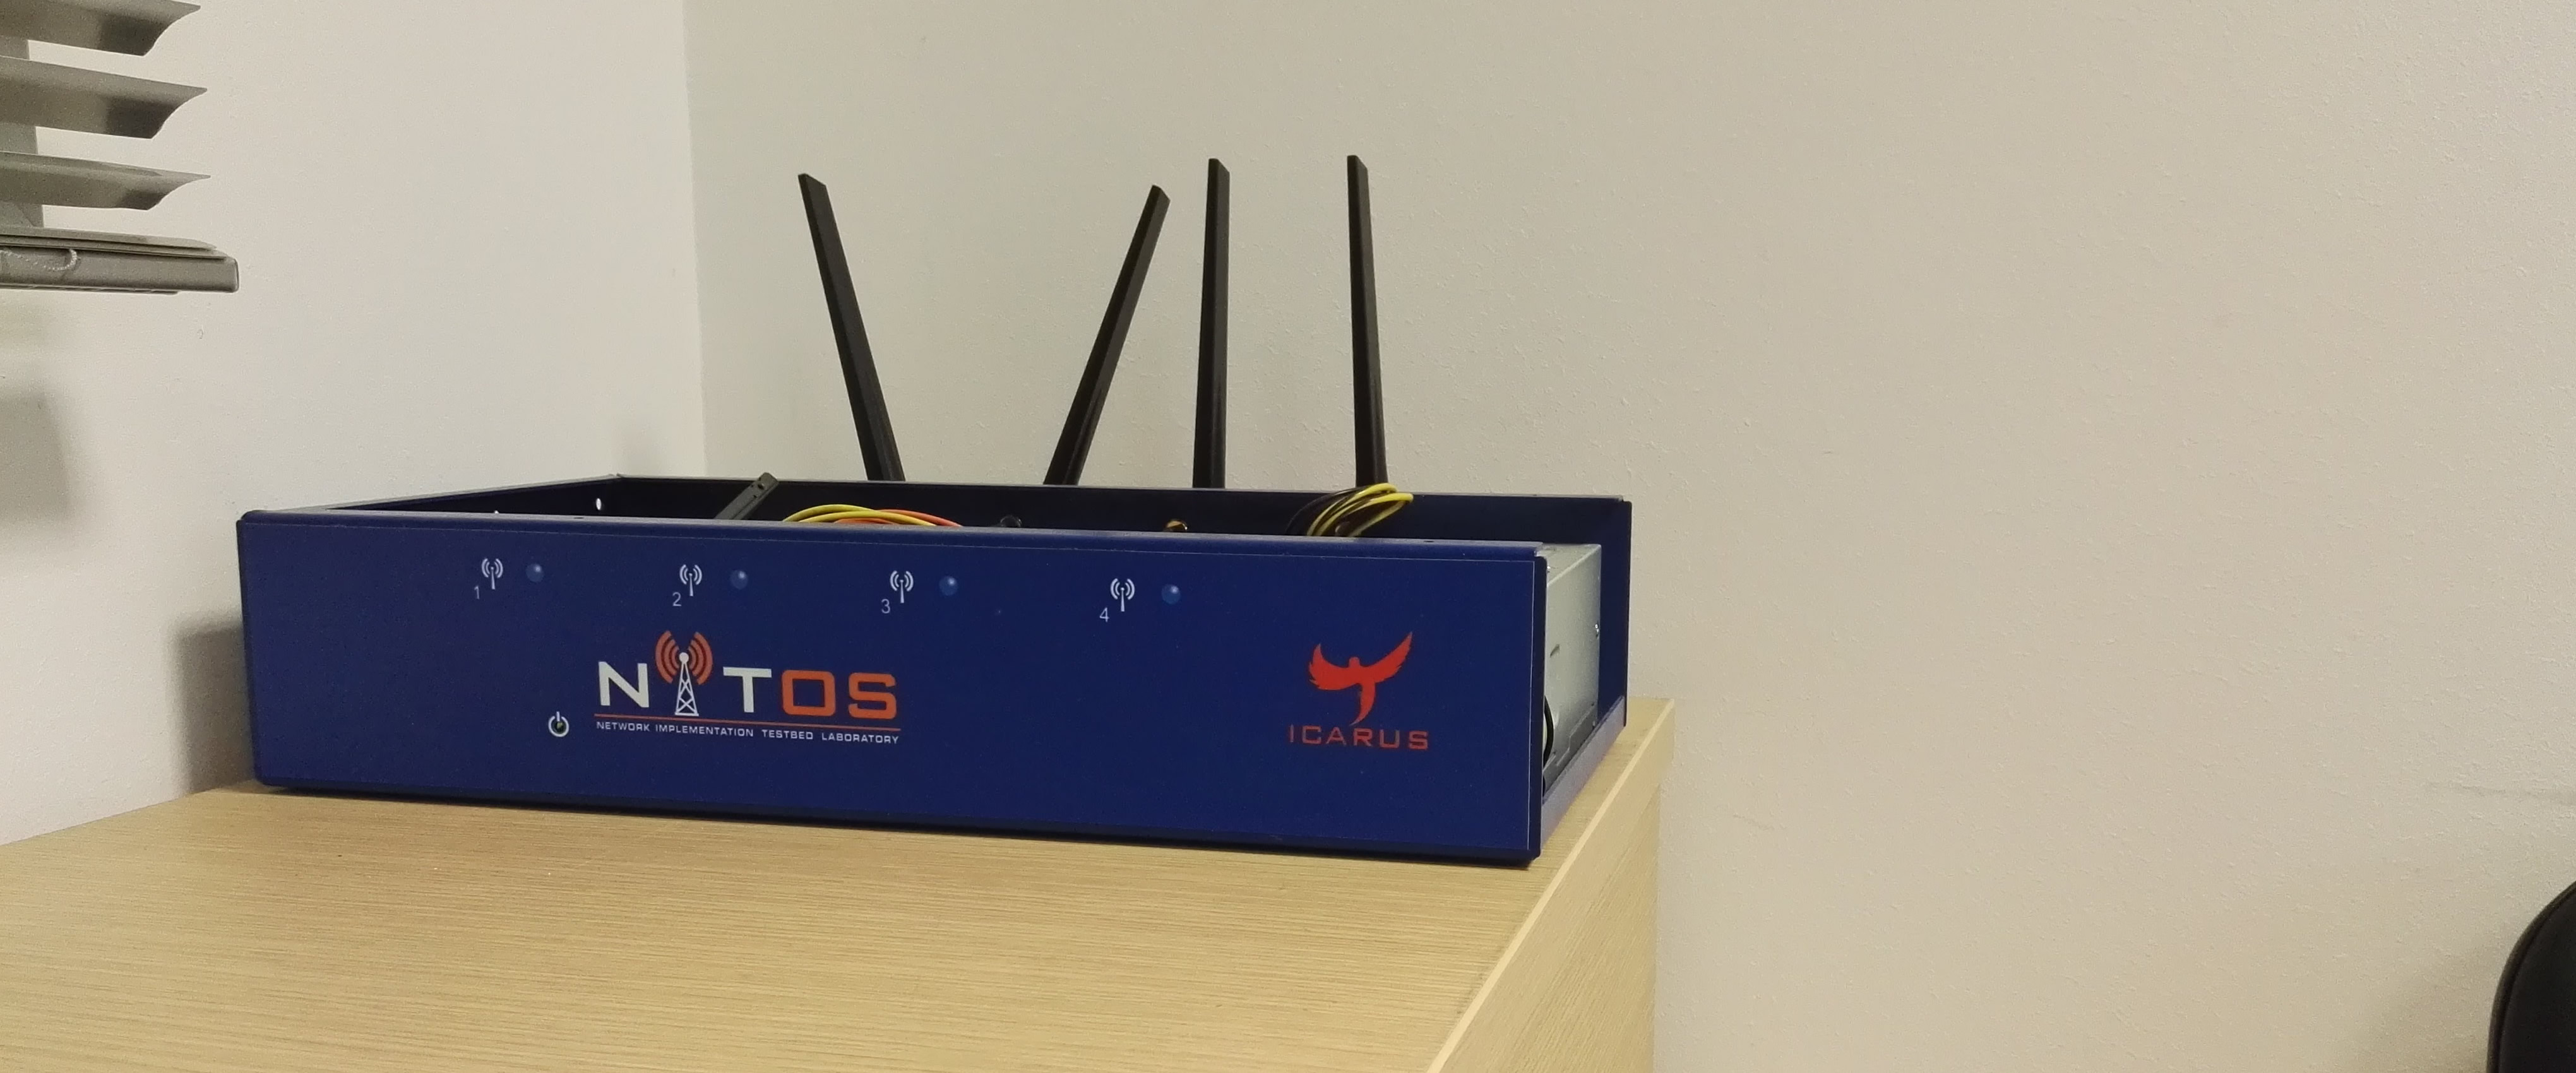
Reserving the eNBs will render rights to the experimenter to access the LTErf service of the NITOS facility, used to configure and setup the eNBs and the EPC at the experimenter's will.

After your reservation has started, log in to the NITOS3 server with the following command:

 ssh This email address is being protected from spambots. You need JavaScript enabled to view it. 

Once you have logged in, you should setup the eNBs and the EPC to the default settings, as their configuration might have been altered from their normal behavior by any previous experimenter. In order to setup the eNB to the default settings you issue the following commands:

 wget -qO- 'http://lterf:5054/lterf/bs/config/load?name=reset&&node=2'

Since not all of the changes take place immediately, you will need to restart the eNB for some of the changes to take effect. You can restart the eNB with the following command:

 wget -qO- 'http://lterf:5054/lterf/bs/restart?node=2'

Which will return you the message:

... has been restarted

In order to check if the eNB is connected to EPC after the restart you will have to type the following command:

wget -qO- 'http://lterf:5054/lterf/epc/get?function=getSystemStatus&args=MME,S1AP_INTERFACE,192.168.200.1' | xml_pp

Which will return you the message:

<STATUS>
  <EPC>
    <getSystemStatus>
      <instance id="1">
        <componentType>MME</componentType>
        <currentStatus>CONNECTED</currentStatus>
        <lastUpdated>2015-05-21T13:49:52Z</lastUpdated>
        <statusType>S1AP_INTERFACE</statusType>
        <statusIdentifier>192.168.200.1</statusIdentifier>
        <severityLevel>0</severityLevel>
      </instance>
    </getSystemStatus>
  </EPC>
</STATUS>

In order to setup the EPC to the default settings you issue the following command:

 wget -qO- 'http://lterf:5054/lterf/epc/config/load?name=setDefaultEpc'

You will need to restart the EPC twice in order for some of the changes to take effect. You can restart the EPC with the following command:

 wget -qO- 'http://lterf:5054/lterf/epc/restart'

Which will return you the message:

EPC network has been restarted


You can see the parameters that can be changed and the LTERF service commands and their syntax by invoking the following command:

 wget -qO- 'http://lterf:5054/lterf/' | xml_pp 

It returns an XML tree with the complete list of LTERF commands. Since the eNB and EPC are back to their default settings, you can start experimenting with the LTE testbed.

You have to load the image baseline_icarus_lte.ndz to the nodes that you reserve with the following command:

omf load -i baseline_icarus_lte.ndz -t omf.nitos.nodeXXX,omf.nitos.nodeYYY

LTE OMF AM updates

The second version of the LTERF service is a significant update of the first one, as it allows controlling multiple femtocells using only one server. This update is requires the adaptation of the commands sent to the service, by including the specific node ID in the query.

The target setup is the following:

 LTE Architecture


We suppose that the system is a x64 Ubuntu Server system. 

In order to install the lterf service, update your apt repositories with the following entry:

deb http://nitlab.inf.uth.gr/ubuntu precise/ 


Now you can issue the following commands to install the service:

sudo apt-get update && sudo apt-get install lterf2

If you are updating from an older release you might need to uninstall that version first before installing this release.
Some further configurations are needed for the configuration file in order for the service to run as expected. The OMF AM service configuration file can be found at /etc/omf-aggmgr-5.4/enabled/lterf.yaml. The file should look like the following:

lterf:
  reset:
    db: 'defaults/reset.db'
    xml: 'defaults/reset.xml'

  bs:
    type: ipaccess
    ip: [10.64.44.125, 10.64.44.126]
    mask: 255.255.254.0
    mgmt_if: eth1
    key: '/root/key2'
    stats:
      localoml:
        :omlServer: nitlab.inf.uth.gr
      globaloml:
        :omlServer: nitlab.inf.uth.gr
  
  epc:
    type: sirran
    ip: 10.64.44.121
    mask: 255.255.254.0 
    db_user: omf
    db_pass: ******
    db: lte_main
    user: root

  datapath:
    manage_interface: true

The changes compared to the first version include the IP entries for the ip.access access points, where a list of target IP addresses can be given. If you only have one entry, you can use the old syntax.

The parameters can be reset to their default values (as the AP was installed in each testbed site) with two methods:

  1. By using a default AP configuration database, copied to the lterf machine and placed in a folder pointed to the service through the configuration file (reset->db file)
  2. By using an XML file that points the correct values passed to the AP one-by one. The service knows about the XML configuration file via the .yaml file (reset->xml).

For using the default service the administrator has to copy one default configuration database from an operating AP from the testbed and change the configuration file for it to be operational. The example config database contained in the downloaded version of the service is containing the NITOS configuration.

Similar to the first step, if you plan to use the default_byxml method you should change the files in the xml included in the lterf package to your configuration.

By sending the appropriate commands to the LTE AM service, you can change parameters on the database. For instance, in order to list all available services you will hae to issue the following command:


 wget -qO- "http://lterf:5054/lterf/" | xml_pp 

The command should return all the available parameters that can be changed through this service. In order to query about a specific value of an LTE AP, you will have a command similar to the following one (for example the band number that is currently in use from the AP with id = 1)

Note: The AP IDs are given based on the sequence of the IP addresses given in the configuration file.

 wget -qO- "http://lterf:5054/lterf/bs/get?freqBandIndicator&&node=1" 

The service replies with an XML formed reply. Similar to this, if the experimenter needs to change the current operating band, the command should look like:

 wget -qO- "http://lterf:5054/lterf/bs/set?freqBandIndicator=7&&node=1" 

For every change to take effect, a reboot is required! The reboot command is:

 wget -qO- "http://lterf:5054/lterf/bs/restart?node=1" 

 This version supports enhanced features of reseting the LTE APs to their default settings, saving their configuration under a name and loading it on a specific AP.

In order to reset an AP to its default values you can issue one of the following commads:

 wget -qO- "http://lterf:5054/lterf/bs/default?node=1" 

or

 wget -qO- "http://lterf:5054/lterf/bs/default_byxml?node=1" 

Note: The second command requires a lot of time to pass all the arguments to the femto and should not be interrupted in any case.

In order to save the existing configuration of an LTE AP, you can send the following command to the LTErf service:

  wget -qO- "http://lterf:5054/lterf/bs/config/save?node=1&&name=test_name"

If there is no error during the saving process, by using the list command you can list the available configurations that can be loaded in the target APs:

  wget -qO- "http://lterf:5054/lterf/bs/config/list"

The list command returns a similar output like the following:

list configs

You can load these configurations in a target AP (eg. AP2) using the following command:

 wget -qO- "http://lterf:5054/lterf/bs/config/load?name=test_save&&node=2"

And the system returns the corresponding message that the configuration has been loaded in the target AP. 

In the following article a complete list of the possible configurations per building block are illustrated:


lterf OMF AM service

NITLab and WINLAB (Rutgers University) have developed the first version of an OMF Aggregate Manager service, ready to be installed at any similar to NITOS testbed, that enables controlling of the ip.access LTE 245F femtocells and of SiRRAN's EPC Network. Currently getting and setting values from the APs and getting values from SiRRAN's EPC are supported. The values that can be changed/reported are the ones that are visible to the testbed Operator and can be used for setting up an experiment. The setup we have followed is similar to the one used by the GENI WiMAX consortium in US (http://wimax.orbit-lab.org) .

We assume that the OMF AM service is running at a dedicated server for each AP. The setup is similar to the one illustrated in Figure 1.

LTE Architecture


Each lterf server instance is able to control one AP, as it is set by its configuration .yaml file. In order to install the lterf instance the following packages are required:

* ruby1.9.1

* rubygems

* the dm_sqlite_adapter gem

We suppose that the system is a x64 Ubuntu Server system. 

In order to install the lterf service, update your apt repositories with the following entry:

deb http://nitlab.inf.uth.gr/ubuntu precise/ 


Now you can issue the following commands to install the service:

sudo apt-get update && sudo apt-get install lterf


Some further configurations are needed for the configuration file in order for the service to run as expected. The OMF AM service configuration file can be found at /etc/omf-aggmgr-5.4/enabled/lterf.yaml. The file should look like the following:


lterf:

  database:
    dbFile: 'db/lterf.db'

  bs:
    type: ipaccess
    ip: 10.64.44.125
    mask: 255.255.254.0
    mgmt_if: eth1
    key: '/root/.ssh/key2'
    stats:
      localoml:
        :omlServer: nitlab.inf.uth.gr
      globaloml:
        :omlServer: nitlab.inf.uth.gr
  
  epc:
    type: sirran
    ip: 10.64.44.121
    mask: 255.255.254.0 
    db_user: omf
    db_pass: omf-pass
    db: lte_main
    user: root

  datapath:
    manage_interface: true

The important parameters are the LTE AP address and subnet mask, as well as the interface of the server that communicates with it. The Key entry should contain the path to the key needed to access the LTE AP via ssh. If you want to have access to the EPC, you need to have an account that is able to login with a mysql account on the EPC database.

By sending the appropriate commands to the LTE AM service, you can change parameters on the database. For instance, in order to list all available services you will hae to issue the following command:


 wget -qO- "http://lterf:5054/lterf/" | xml_pp 

The command should return all the available parameters that can be changed through this service. In order to query about a specific value of the LTE AP, you will have a command similar to the following one (for example the band number that is currently in use)

 wget -qO- "http://lterf:5054/lterf/bs/get?freqBandIndicator" 

The service replies with an XML formed reply. Similar to this, if the experimenter needs to change the current operating band, the command should look like:

 wget -qO- "http://lterf:5054/lterf/bs/set?freqBandIndicator=7" 

For every change to take effect, a reboot is required! The reboot command is:

 wget -qO- "http://lterf:5054/lterf/bs/restart" 


You can find more instructions on running the updated version of LTErf here.

What Our Experimenters Say

  • NITOS is a very reliable and well managed platform. The offered infrastructure and features are great. The management team is very supportive.

    Mustafa Al-Bado
    Postdoctoral researcher
    Insight centre, University College Cork (UCC)
  • 1
  • 2
 
uth
image
image
image


Login Form